
This Instant Pot Chocolate cake is the easiest cake I have ever made!
To make sure we’re no all going to succumb to our cravings and go live in a house made of cake, I decided that we’re only going to eat sweets we cook in the house.
This rule allows me to limit the sweets in our diet, but it’s also a bit of a nuisance given that the kids keep asking for this Instant Pot cake again and again.
Definitely use this Instant Pot chocolate cake recipe for a quick and easy dessert. I know I sure do!
This recipe is also perfect for when you don’t want to use your oven, like in the summer.
Just mix all the ingredients, place inside the Instant Pot and get an amazing cake!
Table of Contents
Recipe video
What if my Instant Pot doesn’t have a Bake Function?
Don’t be disappointed if you can’t find the Bake function on your Instant Pot – some models don’t have it. As you can see from my instructions, I use the pressure cook mode to make this cake, and the result is a soft cake that basically melts in your mouth.
The steam from the pressure cooker setting helps keeps the cake from drying out (which can happen in the oven). So, steam is the main secret behind the softness and luxuriousness of this cake!
More Tricks and Tips
If you haven’t used the Instant Pot for baking before, check out these tips:
- Don’t forget the liquid - for ALL instant pot recipes, including baking, your pot needs enough liquid to build up pressure. Otherwise, you’ll either get an error message or you’ll wait forever to see the pot build pressure.
- Let the pressure release naturally - I know it’s difficult to wait when you can already feel the smell of chocolate goodness but, believe me, it’s worth it! If you release the steam too quickly (using the Quick Release function), you may end up with a flat cake. This can happen because the pot uses steam to heat up and raise the batter.
- Let the cake cool down - I’m sure you already know this, but the cake needs to cool down before you can add frosting or any other topping. Otherwise it will melt and slide right off!
Which cake tin should I use?
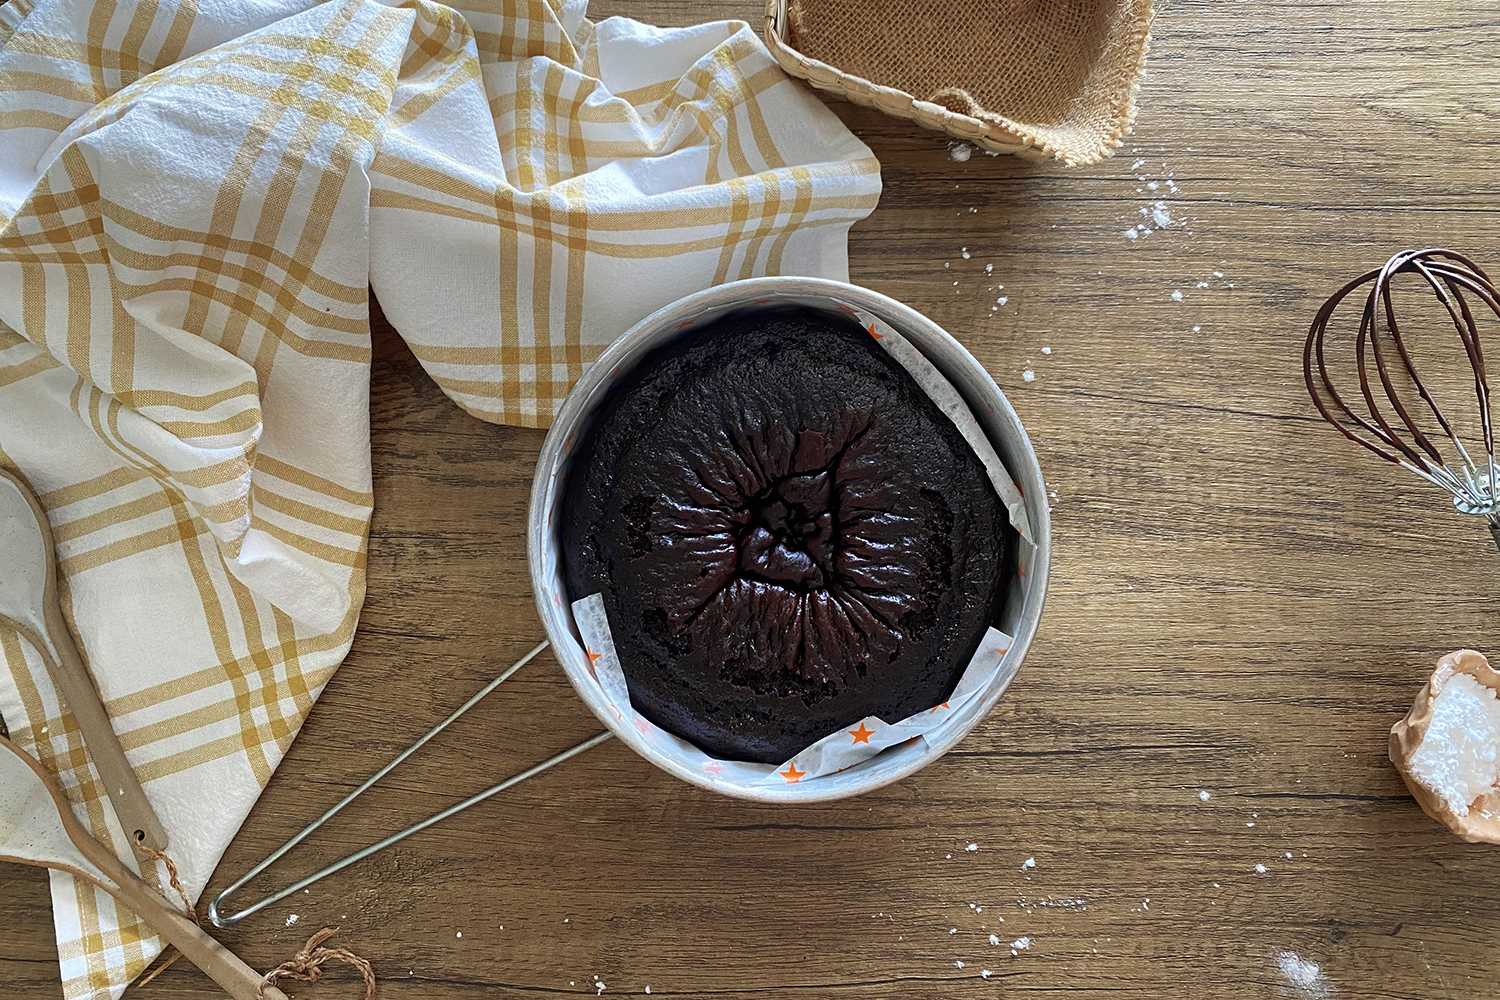
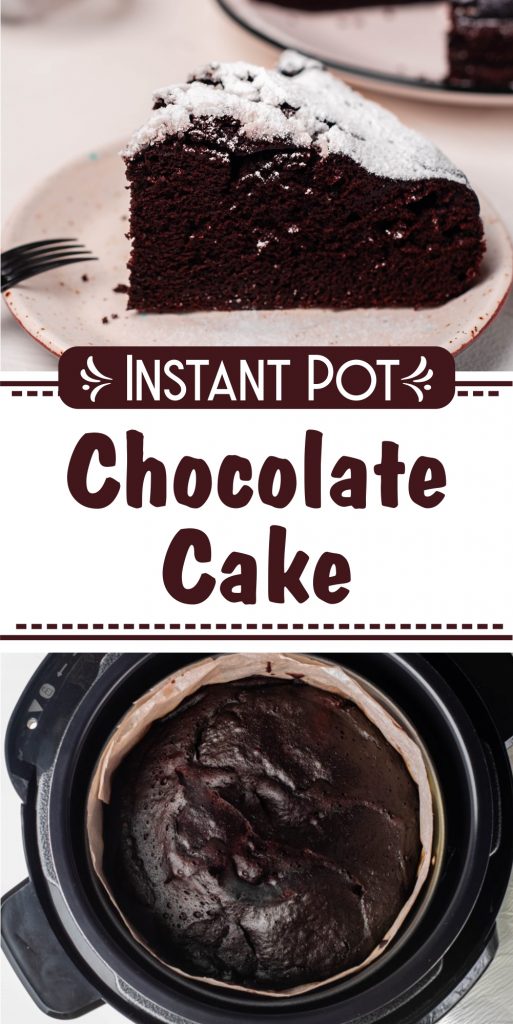
Use a 6-inch cake form lined with parchment paper.
If you don’t have a 6-inch pan, you can easily find one online. The cake pan is placed on the trivet (one of the IP standard accessories) which will be placed in the inner pot. The trivet is important because it keeps the cake pan from touching the liquid directly and it will allow you to get the pan out easily once the cooking is done (without burning your fingers).
Cover the cake form with the tin lid or simply with aluminium foil.
Adjustments
If you don’t have a 6-inch cake pan, a 7-inch cake pan can be used as long as it fits in your pressure cooker. A bundt pan can also be used. You should not need to adjust the time for any of these options.
If you have a smaller Instant Pot, you should still be able to make this recipe, as long as you find a cake pan that fits your model. You may need to adjust the amount of water.
If you’d like to make this recipe gluten-free, you can substitute a gluten free all-purpose cup-for-cup flour blend. You could also use almond flour, though it may change the texture a bit.
To take this cake up a notch, I like to add a dash of espresso powder to the batter. It brings out the richness of the chocolate. However, make sure to not overdo it if you’re baking this for kids!
If you really want to diversify, try this delicious Instant Pot brownies recipe.
Serving
Personally, I like to alternate between chocolate frosting and whipped cream with pieces of fruit at the top. But that’s the beauty of this cake! Anyone can do it their own way and you can even employ the help of the kids for this step (although be prepared to lose half of the frosting in the process).
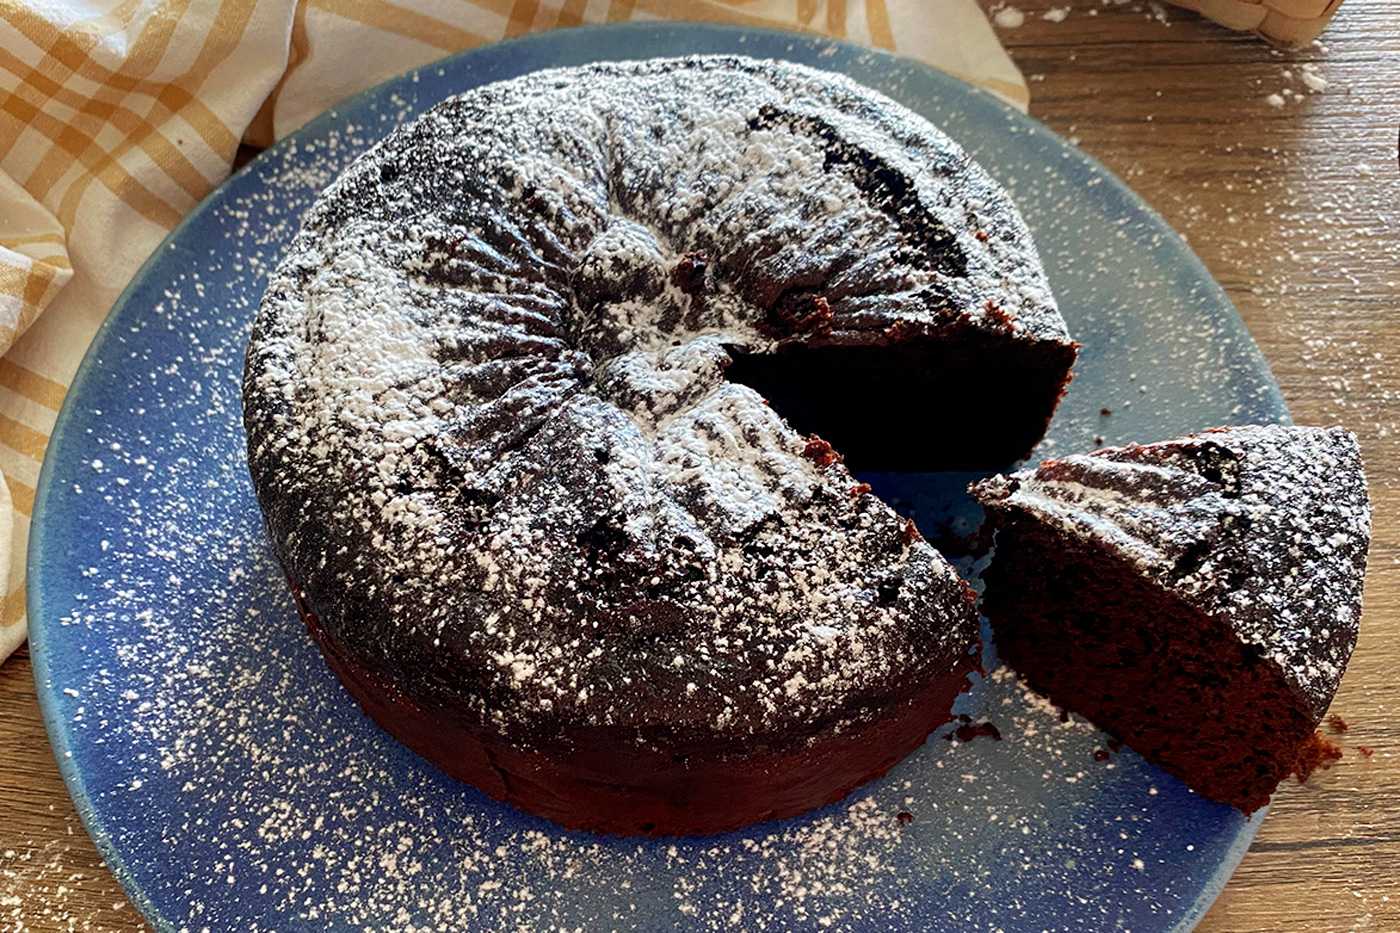
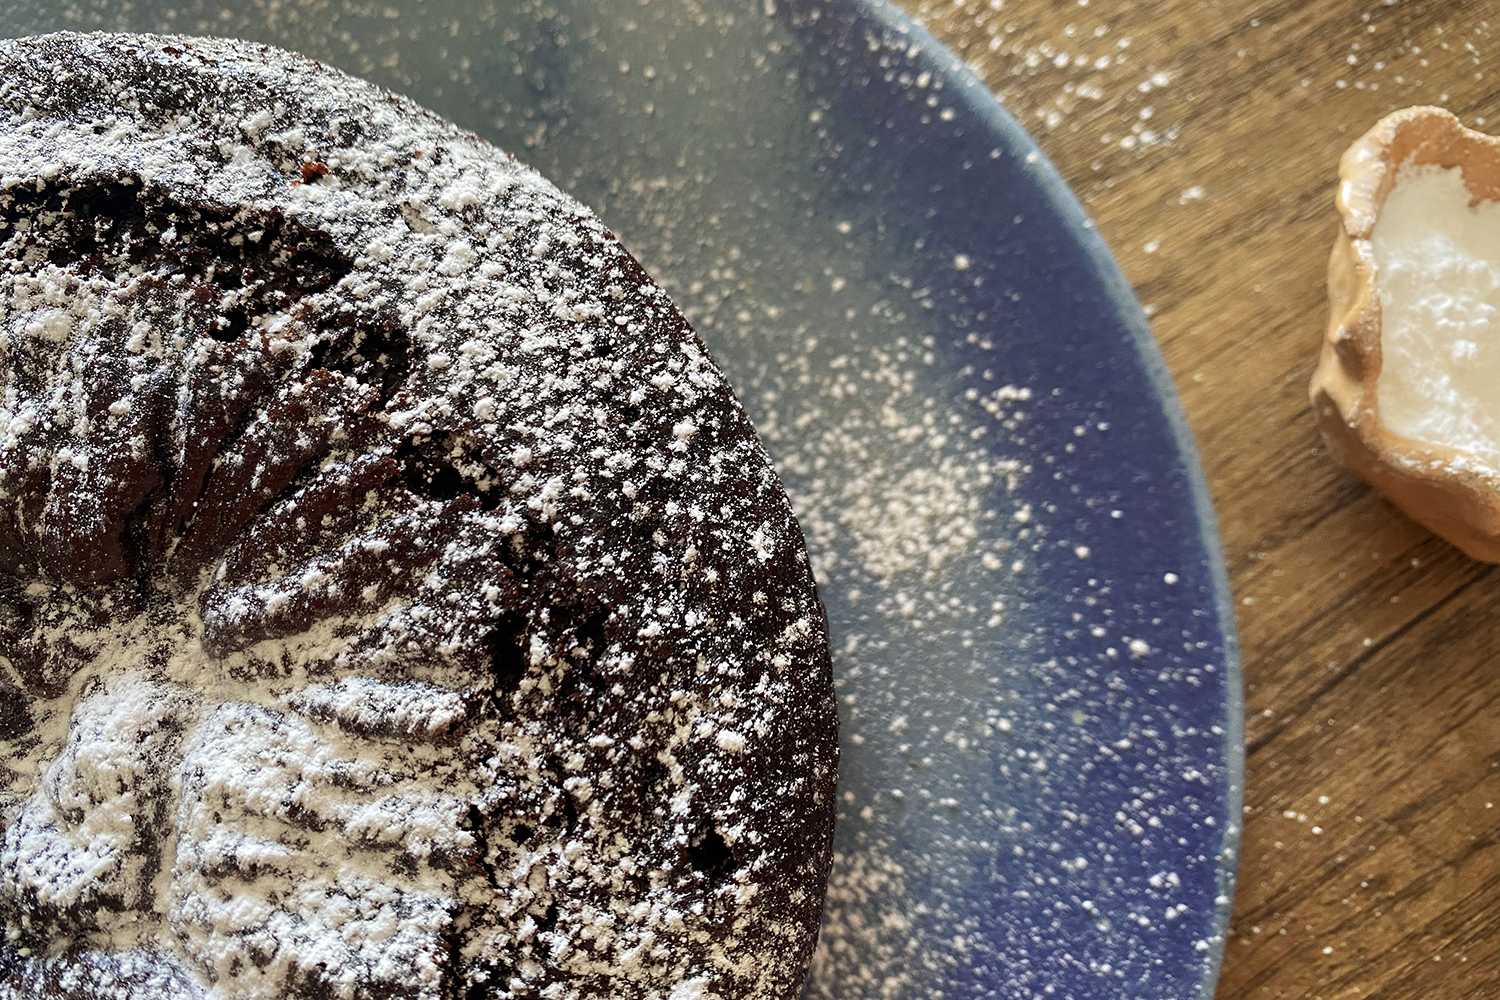
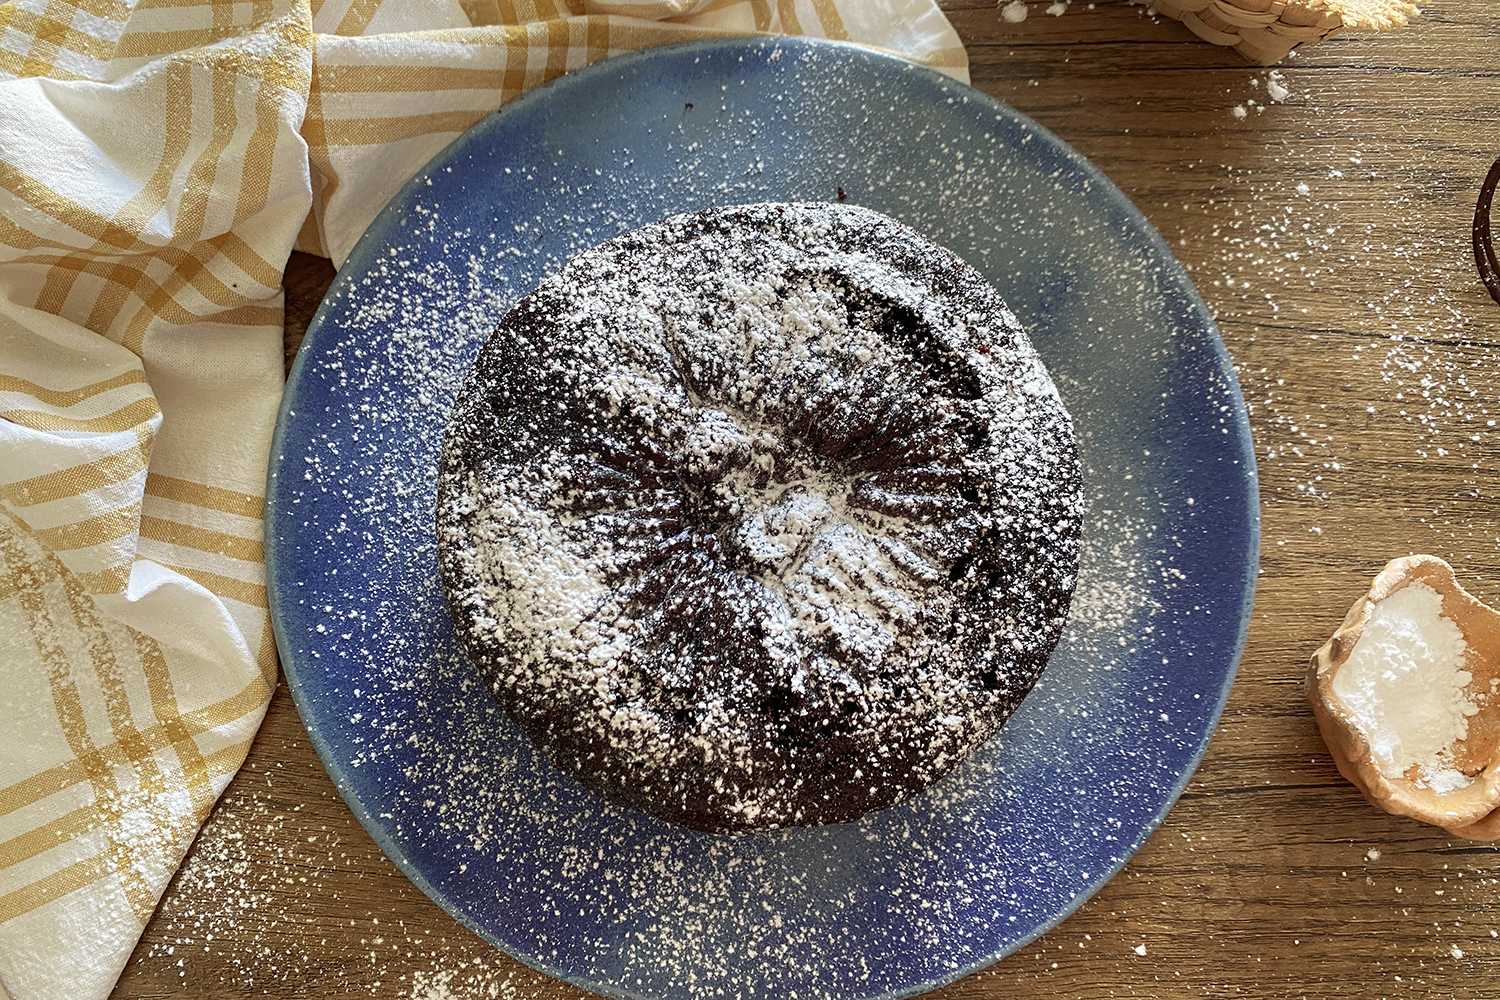
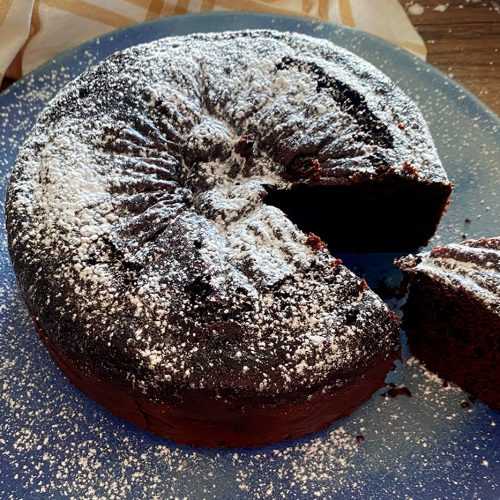
This time I simply sprinkled powdered sugar over it and served it. It was just as delicious as if it had frosting on top!
How to make
Gather the necessary ingredients.

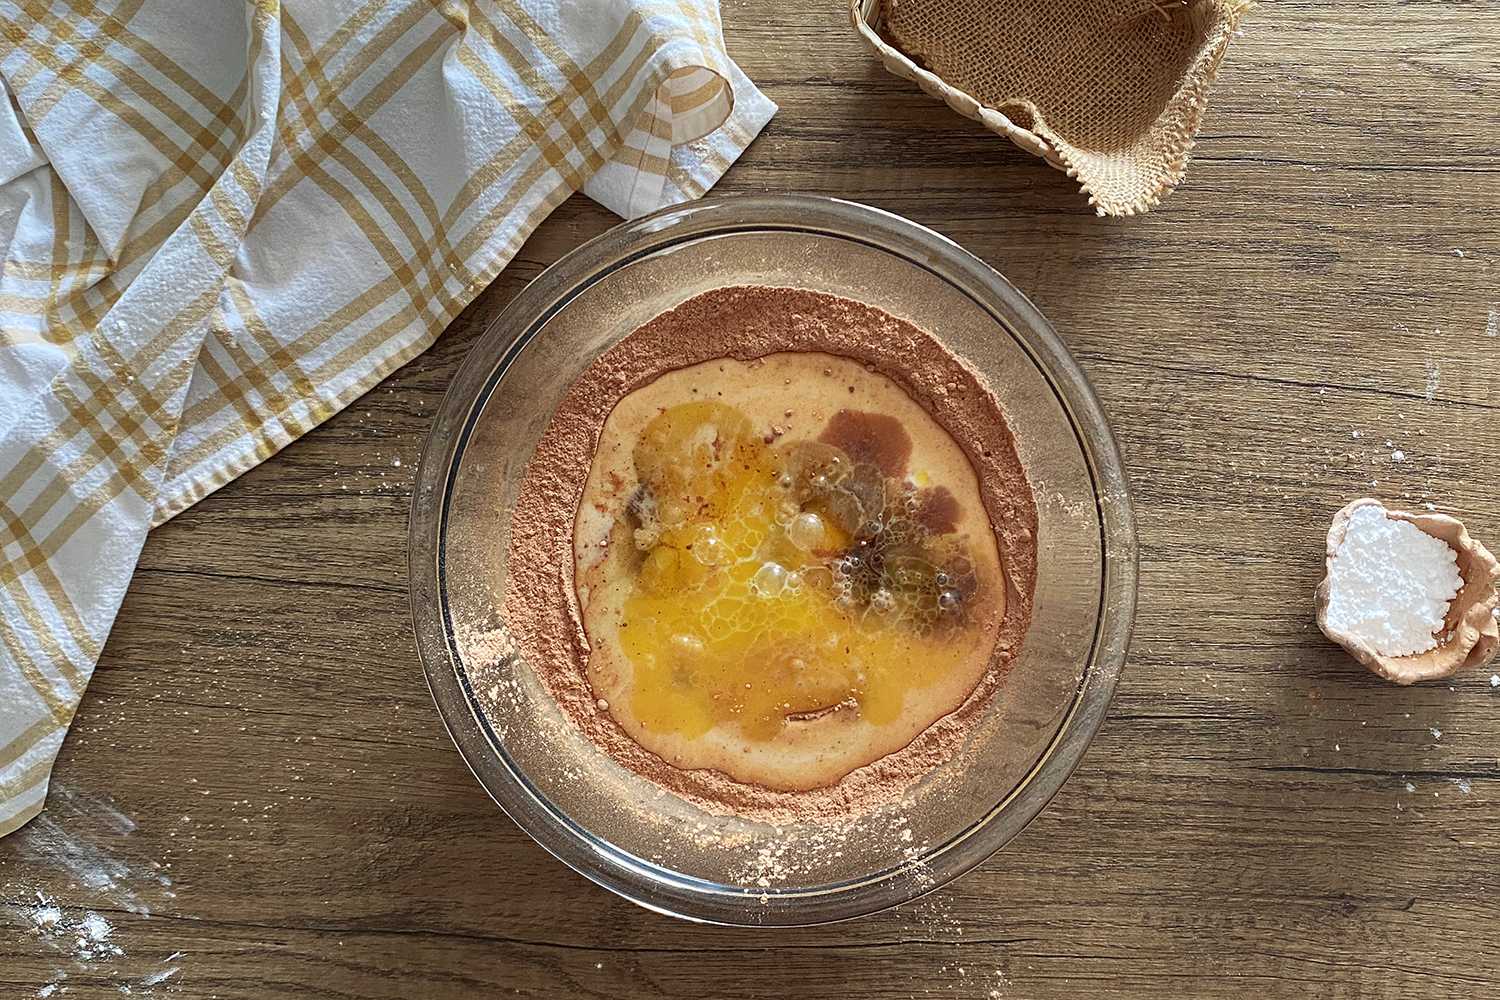
In a large bowl, mix together all dry ingredients: flour, cocoa powder, baking soda, baking powder, sugar, salt.

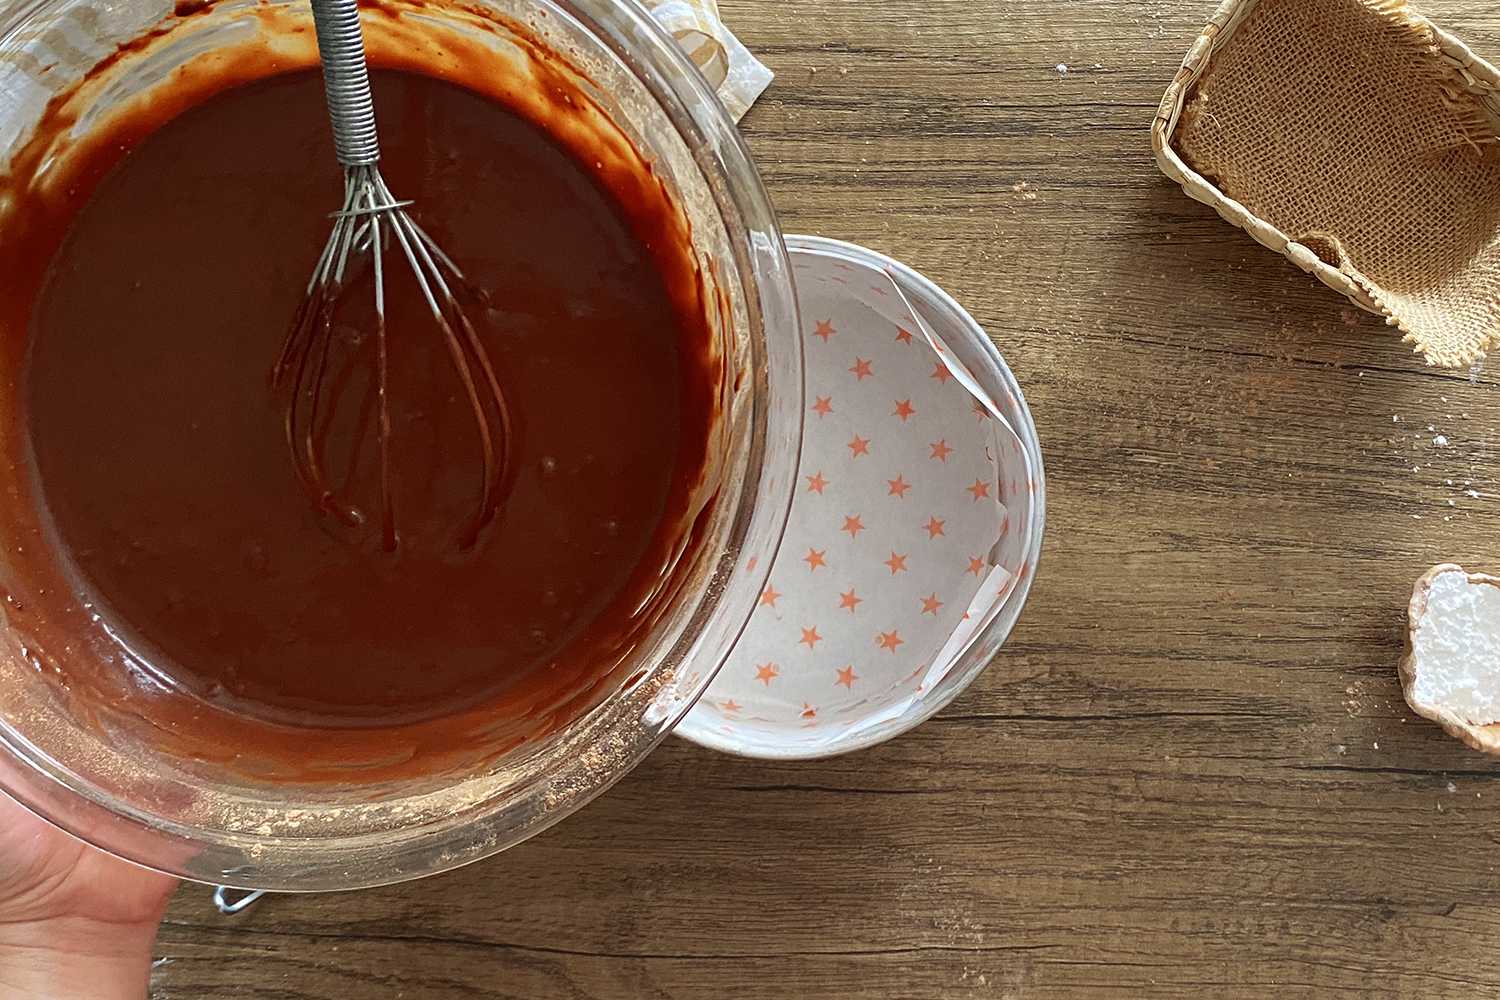
Add melted butter, eggs, milk, and vanilla extract and mix.
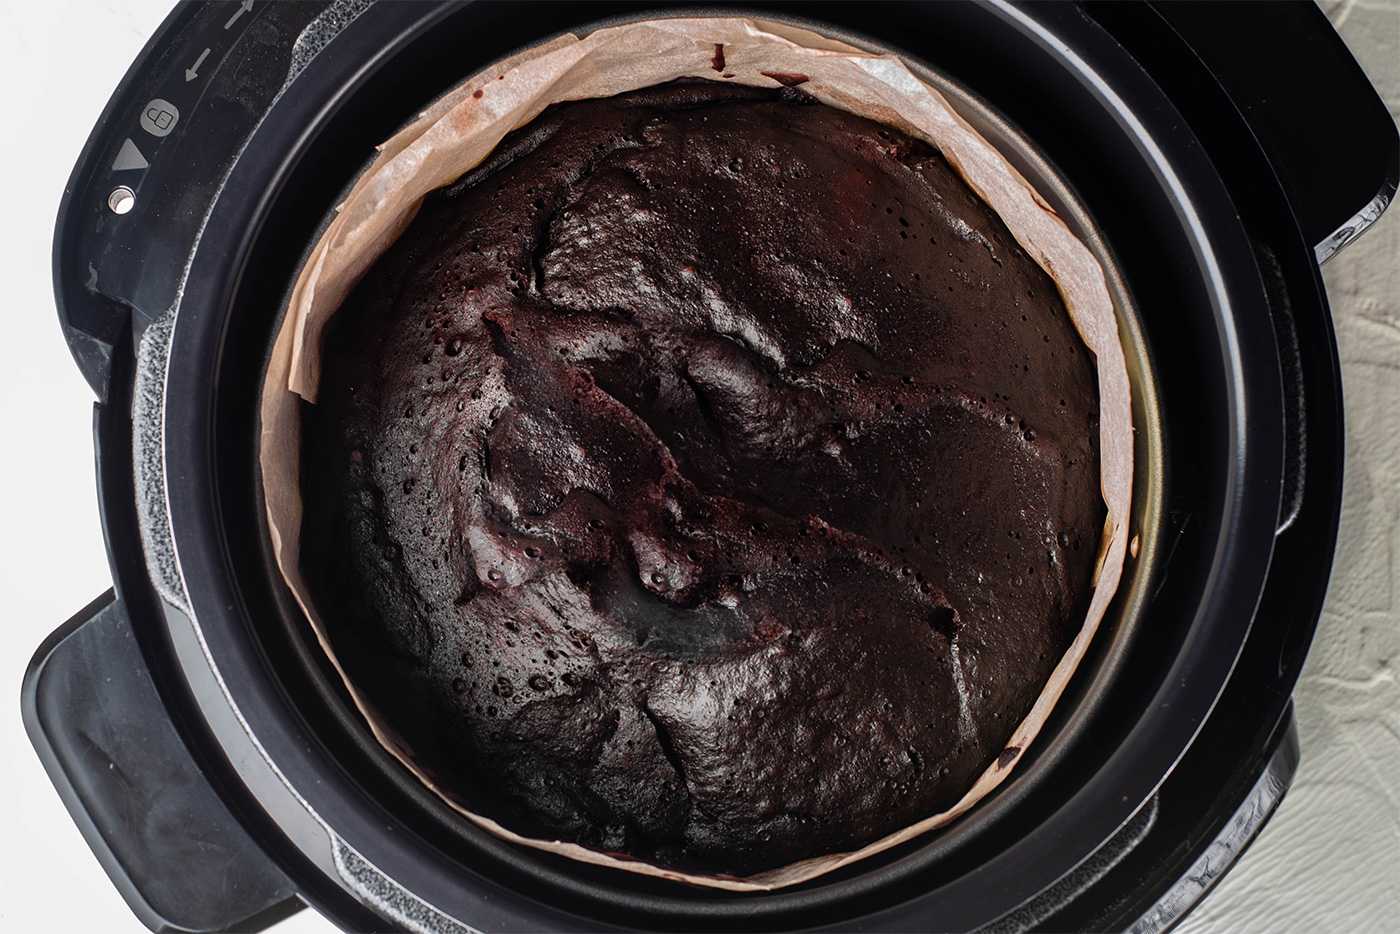
Place parchment paper or butter paper into the cake tin.
Pour the batter into your cake tin.
Pour 2 cups of water into your Instant Pot and place the trivet correctly.
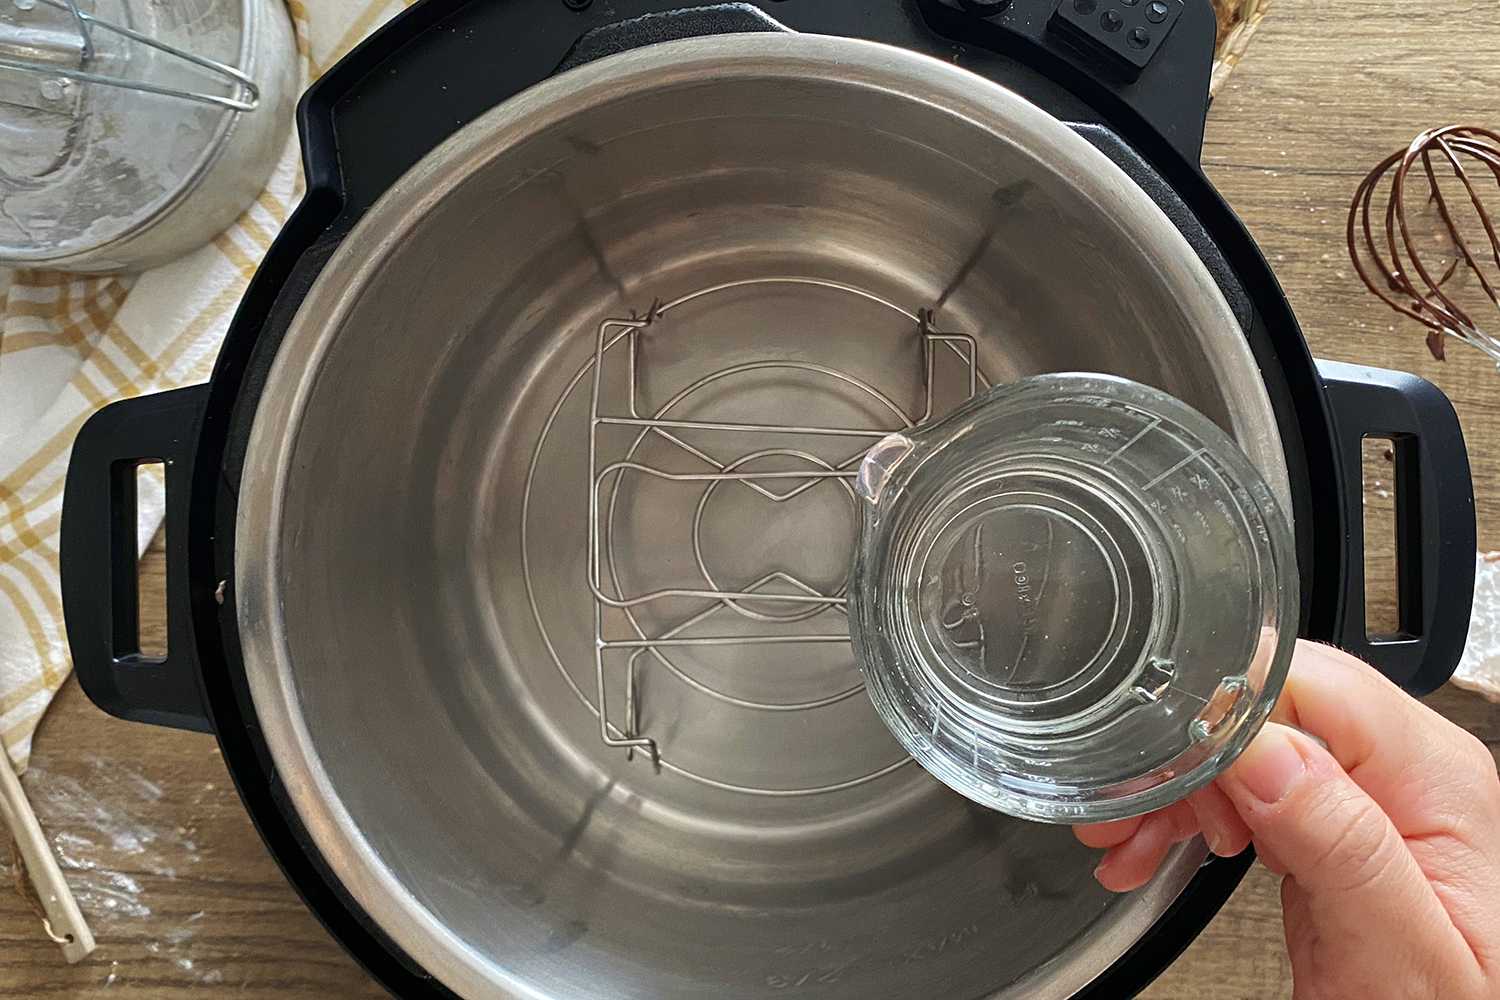
Place your cake tin onto the trivet.
Cook at high pressure for 30 minutes.
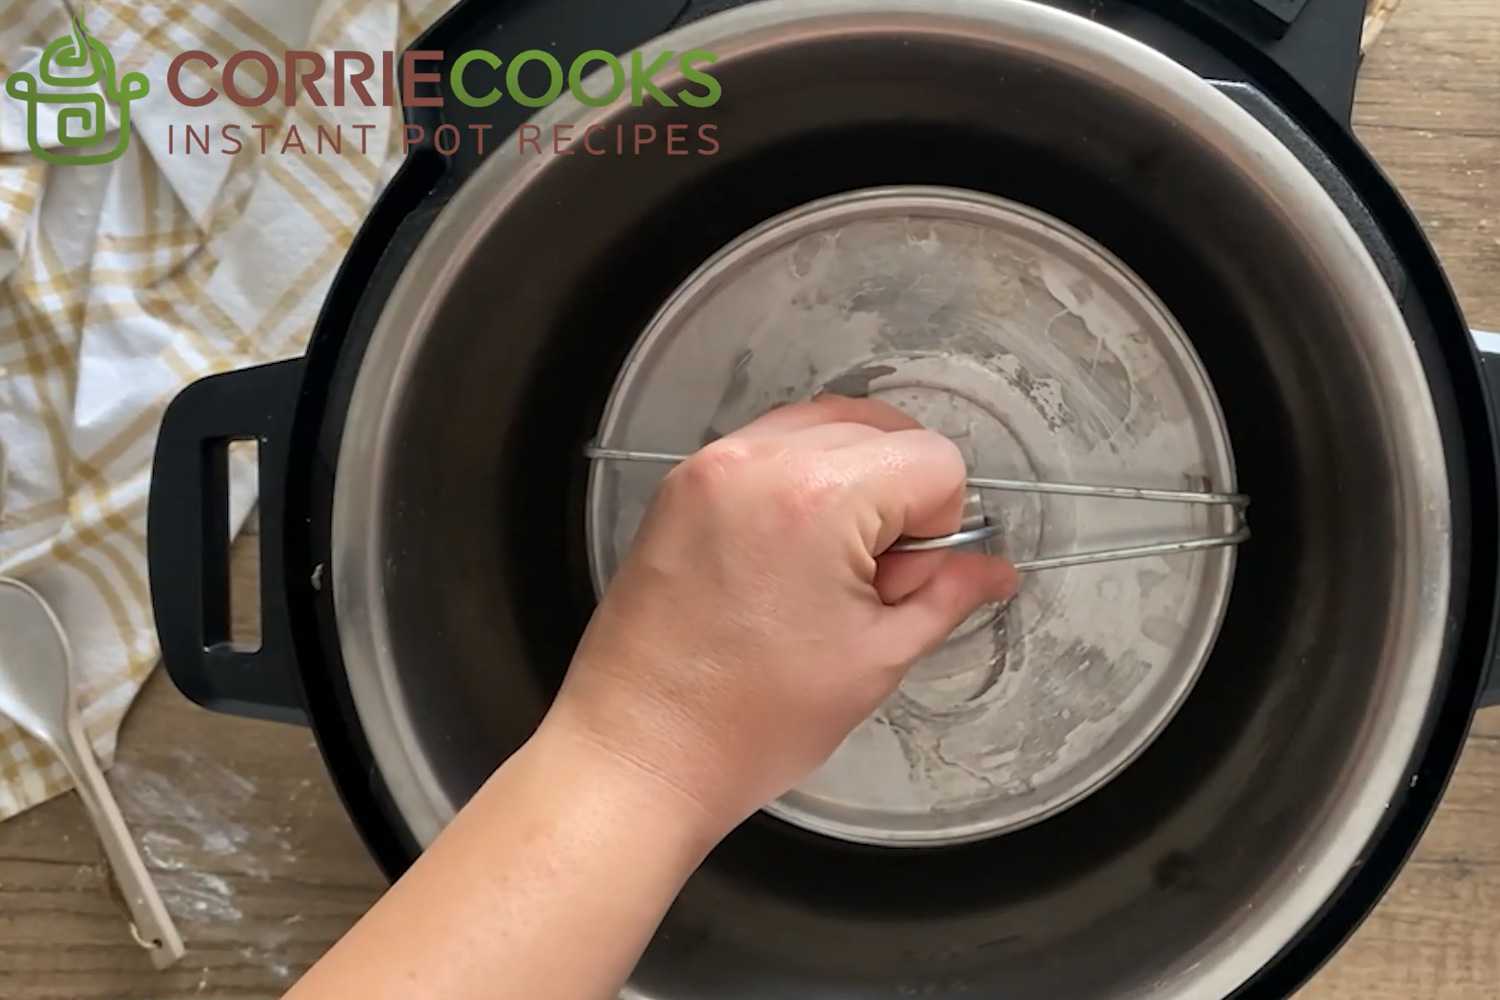
When cooking time is complete, wait for a natural pressure release and then open the lid.
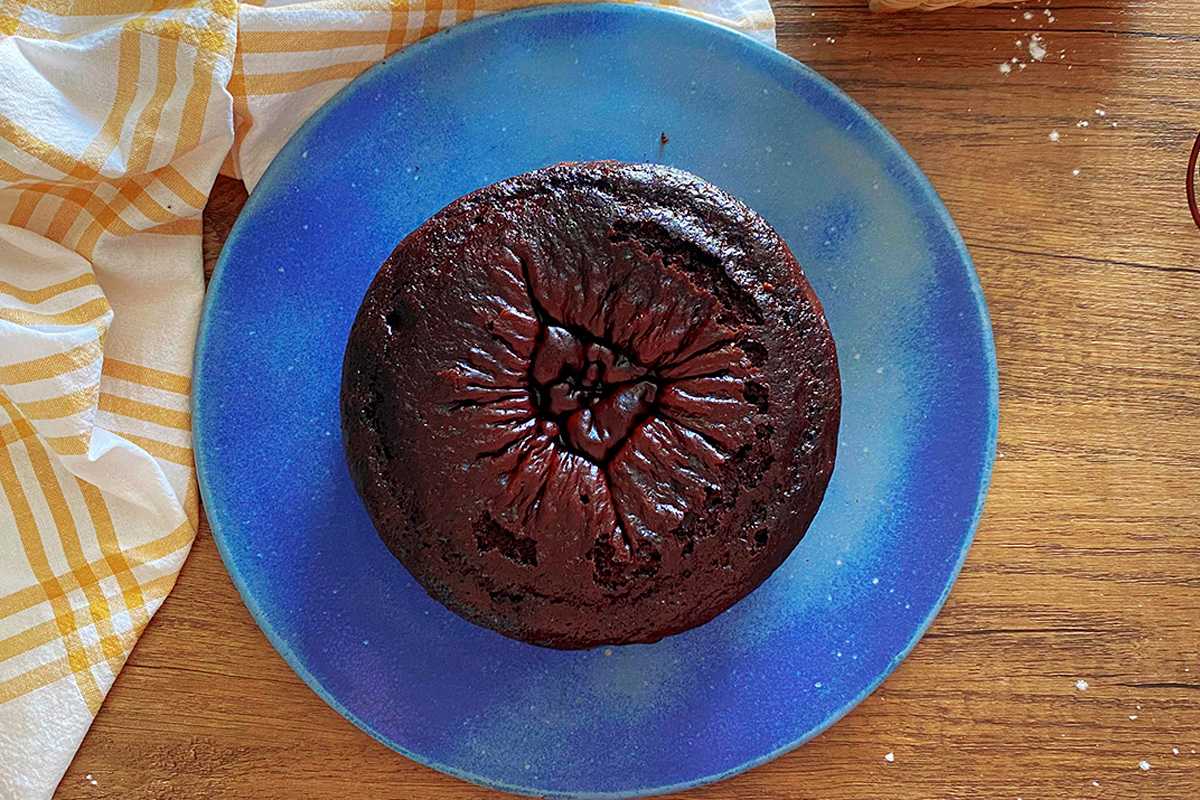
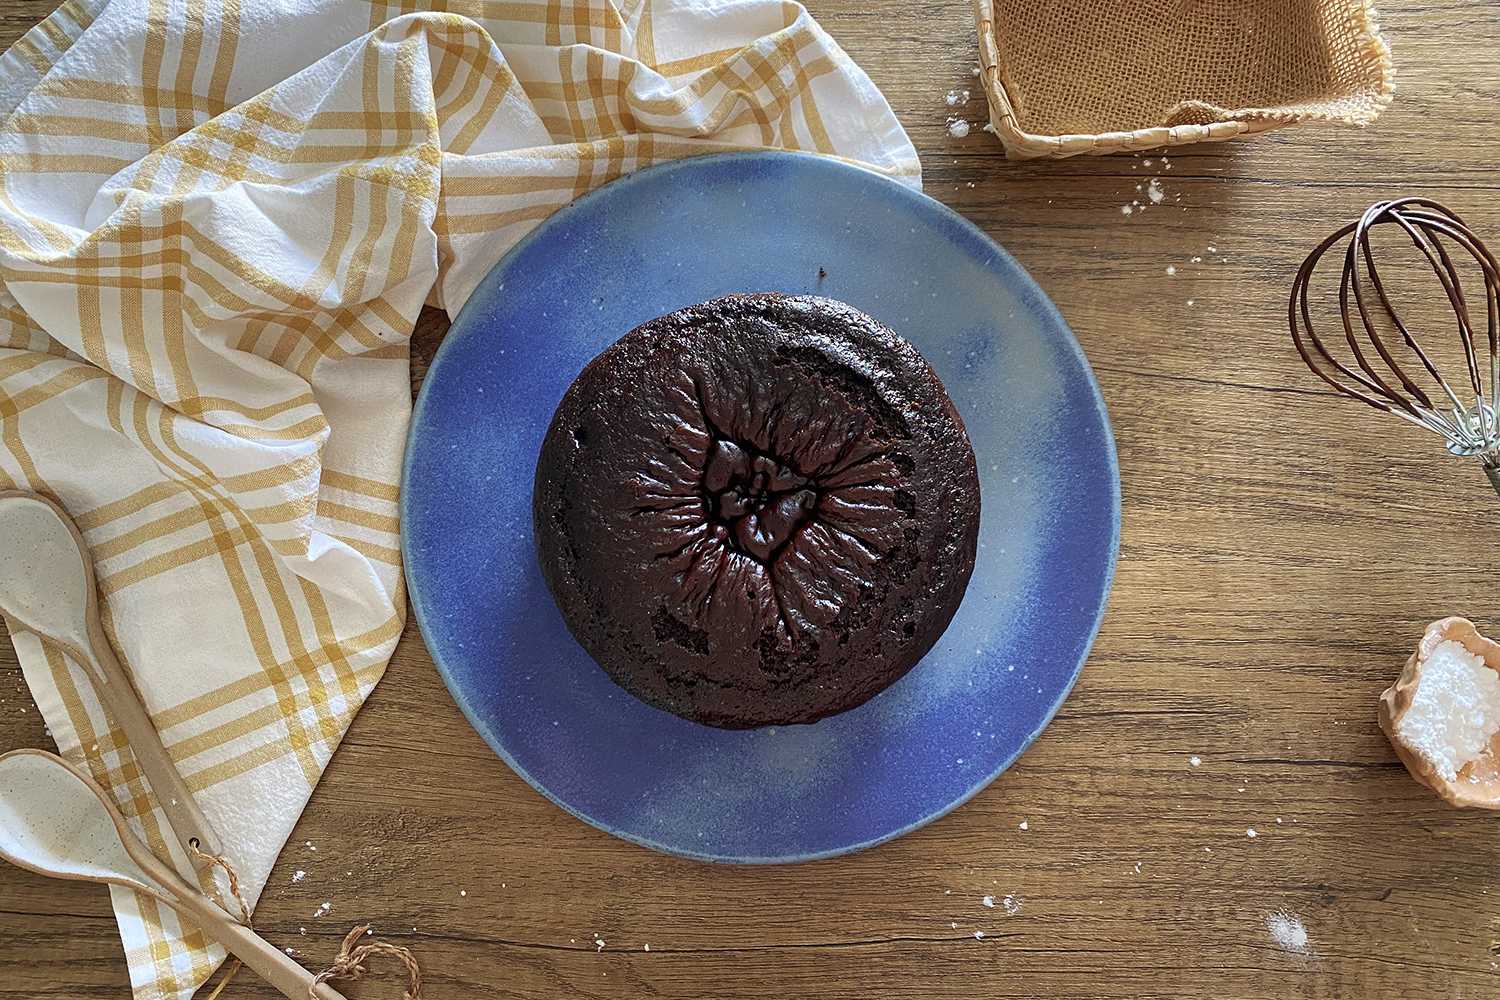
Take out the cake.
Remove the cover and let your cake cool for about 20 minutes before slicing it.
Sprinkle each slice with icing sugar and enjoy!
Feel free to add your favorite toppings as well 🙂
You can use chocolate chip, sprinkles or anything you like.
More Cake Recipes
Instant Pot Japanese Cheesecake (4 ingredients)
Instant Pot Chocolate Cake
Ingredients
- ¾ cup flour
- ¾ cup cocoa powder
- ½ cup sugar
- ¾ teaspoon baking powder
- ½ teaspoon baking soda
- 1 teaspoon vanilla extract
- 1 teaspoon salt
- ½ cup melted butter
- ½ cup milk
- 3 eggs
- icing sugar
Instructions
- In a large bowl, mix together all dry ingredients: flour, cocoa powder, baking soda, baking powder, sugar and salt.
- Add melted butter, eggs, milk, and vanilla extract and mix well.
- Place parchment paper or butter paper into a cake tin.
- Pour the cake mix into the cake tin and cover with the tin lid or aluminium foil.
- Pour 2 cups of water into the Instant Pot and place the trivet on the bottom.
- Place the cake tin onto the trivet and close the Instant Pot lid.
- Cook at high pressure for 30 minutes.
- When cooking time is complete, wait for a natural pressure release.
- Take out the cake and remove the cover (lid or foil).
- Let your cake cool for about 20 minutes.
- Slice the cake, sprinkle with icing sugar and enjoy!
Nutrition
Video
The Pot-tastic Chocolate Cake Extravaganza
I forgot to ask you - probably a silly question since no one else asked it, but how do you get the parchment paper stay on the sides of the pan?
That's a good question! I like to butter or grease the sides of the pan first, and then the parchment will stick without a problem. You don't need to do this, it can just loosely line the pan and then it will stay once you add the batter in, but I think it's a helpful trick.
I have a 7 inch pan so I'm assuming the cake won't rise as much. Do you think it would help to separate the eggs, beat the whites to stiff-ish peaks and fold them in?
Yes that may help with the rise, good idea!
I don't have parchment paper. I have the parchment rounds that came with cake pan for instant pot. Can I just wrap in tin foil bottom and top?
You can use the parchment rounds for the bottom. And I would cut parchment out of those for the sides too for best results, but lining the sides with foil may work too.
I'd like to make a double sized cake with this recipe. May I stack two pans in at a time?
If you have two cake pans that fit stacked, it might work, though I haven't tried it. I would cover the bottom pan with foil so that water doesn't drip into it. You can also try making one cake and then slicing it in half horizontally to create 2 layers.
so I made this last night. My question is I made it in a 7.5 spring form pan in an 8qt crockpot express (crockpots brand of IP). It came out very dense is that how it was suppose to be? Was 1 cup of water enough or should i have added more? Can this be made in a regular cake pan? My daughter loved it though and had fun mixing the ingredients together.
It is fairly dense, but to lighten up the texture next time, make sure you are not over-mixing the ingredients. That should help. Glad you and your daughter had fun making it though! 🙂
Made it today....FABULOUS! Except one thing. I am never one to moan...BUT...I have to make it again tomorrow! My pack of people ate the LOT. Thank you!
Ha! I am so glad you all loved it 🙂
I only have an 8in spring form pan. What adjustments would need to be made for the size? Still figuring this IP out.
As long as the pan you have fits in your Instant Pot, you shouldn't need to adjust the cook time. An 8-inch pan should still work for this recipe.
My husband said this was really good. Dense and on the dry side but not crumbly. I added a little expression powder which added to it. I like it more moist but he likes it on the dry side. My question is how long should I natural release. It went past 25 minutes and the pin still didn’t go down so I quick released the little pressure that was left. I thought maybe that was why it was dryer.
For a true natural release, you should wait the full amount of time until the pressure is released. This can take a while, but it does help the end result. Glad you and your husband liked the recipe!
Do you let the ip go into the keep warm cycle or turn off the pot after the 30min cook time and let it NR?
You can let it go into the keep warm cycle as it completes the natural release.
Wonderful! First time doing an instant pot cake. I had read other recipes which indicated that the cake did not cook and was goopy. I finally decided to try a recipe and I am glad I choose this one. This dense, rich, and beautiful cake cooked well and my family loves it! I live at high altitude and appreciate that no high altitude adjustments are needed when “baking” with the instant pot.
Thank you!
So glad you like the recipe Janie 🙂
That's such a great point about the high altitude, that's wonderful! I'm glad you and your family loved the recipe 🙂