You’ve finally done it. You’ve joined the world of Instant Pot pressure cooking. Congratulations!
If you’re like many new Instant Pot owners, you’re wondering what to do first. You’re probably eager to jump in and start whipping up some fast, delicious Instant Pot recipes.
But… You need to slow down and take care of one bit of pressure cooking/Instant Pot “routine maintenance” first.
You need to conduct your Instant Pot water test. The Instant Pot Initial Test Run ensures that your new pressure cooker is indeed working properly and that nothing is wrong before you begin.
If you’ve never used an electric pressure cooker appliance before, the test run helps you learn a bit about it, and to make sure you know how to release the steam properly.
I’m going to give you step-by-step instructions on how to conduct your Instant Pot water test. After that, there’s a table with some common Instant Pot troubleshooting issues and how to resolve them, just in case your Instant Pot Initial Water Test Run doesn’t go smoothly.
Table of Contents
Why do I need to do the water test?
1. It ensures that your Instant Pot works properly
2. It’s a great way to get to know your Instant Pot, how it works, and how steam pressure release works.
How long does the Water Test take?
About 20 minutes.
What do I need for the water test?
Your Instant Pot (plugged in) and 3 cups of water.
Instant Pot water test video guide

Instant Pot Water Test - Step-by-Step Instructions
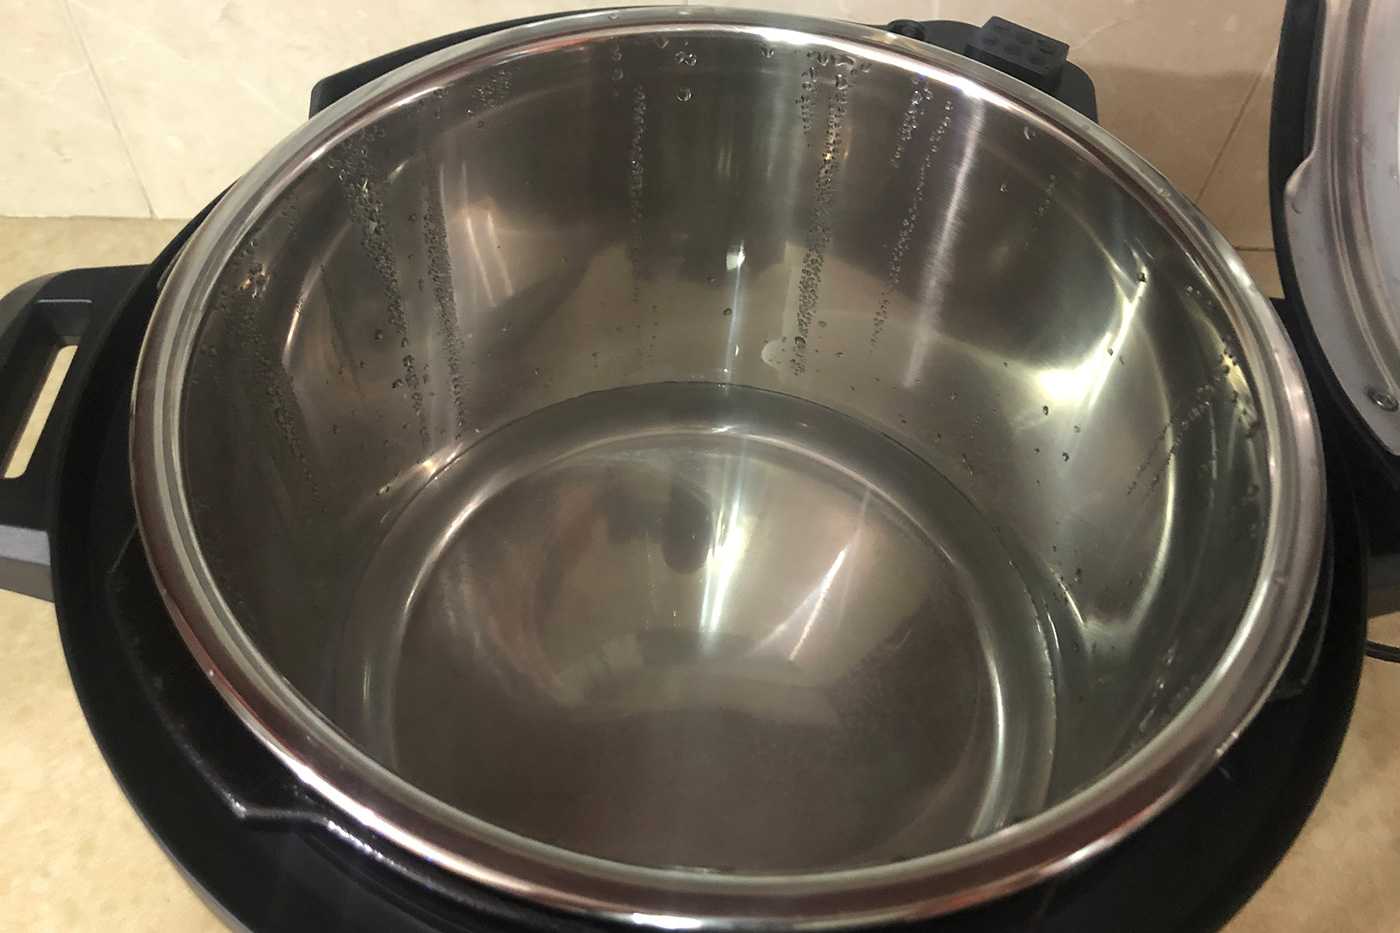
- Place the inner pot into the cooker base.
- Add 3 cups of water to the inner pot.
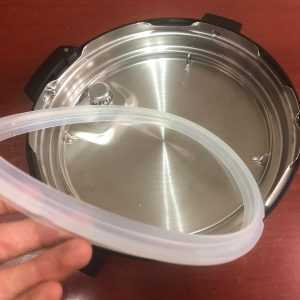
- Place the sealing ring inside the lid (In the sealing ring rack).
- Put the lid on the Instant Pot and turn it clockwise until it is firmly closed.
- Move the venting knob to the “Sealing” position (Some models are doing it automatically).
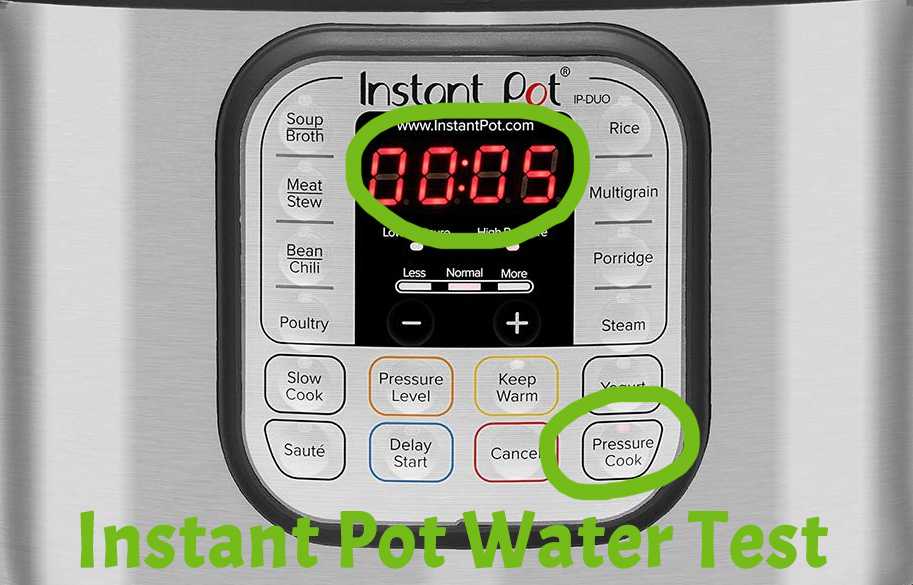
- Select “Manual” or “Pressure Cook” and set the cooking time to 5 minutes (using the +\- buttons or the timer dial).
- Wait 10 seconds. The Instant Pot will begin the pre-heating cycle and the display will show “ON” while the cooker heats.
- Wait 10-20 minutes. The Instant Pot will create the steam required to come to pressure. Once the steam has accumulated, the float valve will pop up and you will hear 1 beep.
- Wait for 5 minutes until the timer reaches "00:00" and you hear 10 beeps.
- Do a quick pressure release (By moving the venting knob to "venting" or by pressing the quick release button).
- Wait for 2-3 minutes until the float valve drops into the lid.
- Open the lid.

Important Notes
* Never pour food or liquid into the cooker base without the inner pot in place. You must use the inner pot for cooking.
* Your Instant Pot will sound its happy little “chime” when you open and close the lid. It's fine.
* When correctly installed the sealing ring, it should be stuck and you should not be able to remove it easily.
* The “Ultra” model Instant pot automatically sets venting knob into the “Sealing” position when you properly close the lid.
* Until the cooker has reached the proper pressure and the float valve has popped up, the lid will be removable. Once it reaches pressure, the lid will lock in place.
* It is normal to see some steam venting from the float valve hole until the pressure cooker has reached the proper pressure.
* Do not attempts to open the lid if the floating valve has not dropped.
* Make sure your Instant Pot is on a sturdy, level surface, like your kitchen counter or a table.
* Plug the Instant Pot into a regular household 120V outlet. Ensure that the plug is securely in both the outlet and the base of the cooker, if your model has a detachable power cord.
* 3 cups of water = 24 oz = 750ml
It doesn't work - I need help!
If you’ve followed the step-by-step instructions above, and your water test was unsuccessful, do not worry. Everything's fine 🙂
I failed with the initial water test myself by forgetting the sealing ring...
Anyway, here are some common issues, and how to resolve them.
| Problem | Possible Cause and Resolution |
| Ticking or cracking sound during cooking cycle | 1. The sound of power switching and expanding pressure during temperature changes. This is normal. No worries.
2. The bottom of the inner pot is wet. Make sure the bottom of the pot and heating element are dry and try again. |
| All LEDS flash with a code and warning beep | Faulty temperature or pressure sensor. Contact Customer Care |
| Display reads “NoPr” | The Steam release handle is in the wrong position. Move the handle to the “Sealing” position. |
| Display flashes “Lid” | Lid is not in its proper position. Open and replace the lid. |
| No display after connecting power cord | 1. Faulty cord. Contact Customer Care.
2. Cord not securely plugged into outlet or cooker’s base. Check connections and look again. |
| Difficulty closing lid | 1. Sealing ring not properly installed. Reposition sealing ring, ensuring it is snug behind the sealing ring rack. |
| Difficulty opening lid | 1. Pressure has not dropped. Wait a few minutes, try again.
2. Float valve stuck in “popped up” position. Ensure steam is completely released via the QR venting method, then press the valve down with a long handled utensil. |
| Lid stuck to inner pot | Cooling the inner pot can create suction. Turn steam release handle to “Venting” position; try again. |
| Float valve doesn’t rise / Instant Pot doesn't building pressure | 1. You forgot to put the sealing ring inside the lid. Open the lid, place the ring inside and try again.
2. Heating issue with inner pot or cooker base. Contact Customer Care |
| Minor steam releasing / hissing from steam release handle during cook cycle | 1. Steam release handle not in “Sealing” position. Turn to the “Sealing” position.
2. The cooker is simply regulating pressure by releasing excess steam. This is normal. No worries. |
| Major steam release from steam release handle during cooking cycle | 1. Steam release handle/valve not positioned properly. Turn the cooker off. Remove and reinstall. 2. Pressure sensor control failure. Turn cooker off; contact Customer Care. |
| Steam leaks from side of lid | 1. Sealing ring not properly installed. Remove and reinstall behind the sealing rack.
2. You forgot to install a sealing ring. Install it behind the sealing rack. 3. Lid not closed properly. Open, then reposition the lid. |
As a general rule, try these simple fixes above, and if they don’t work, please contact Instant Pot Customer Care.
It works - I need recipes!
Now that you’ve conducted your successful water test, you’re ready to enter the world of pressure cooking.
There’s a recipe here for just about everyone, and they are almost as easy to make as it was to complete your initial water test.
Click here for easy Instant Pot recipes for beginners.

Enjoy your new Instant Pot and enjoy the delicious recipes you gonna make :]
Why does the video say to use steam setting and two minutes, and the written part says turn to manual or pressure cook and 5 minutes?
You can do it both ways 🙂