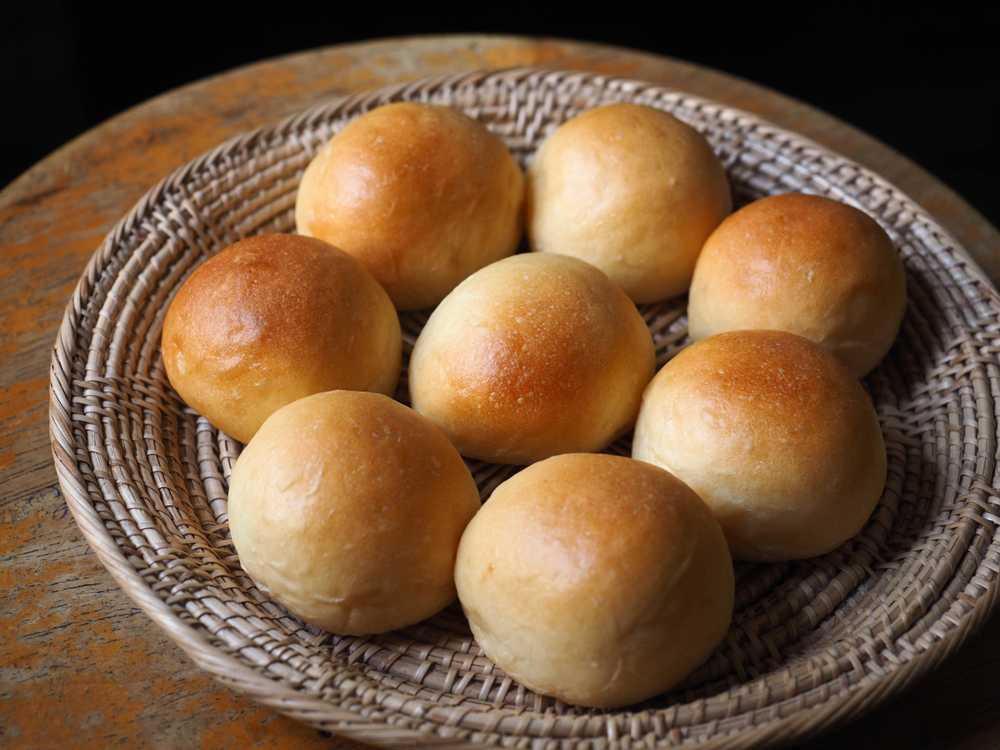
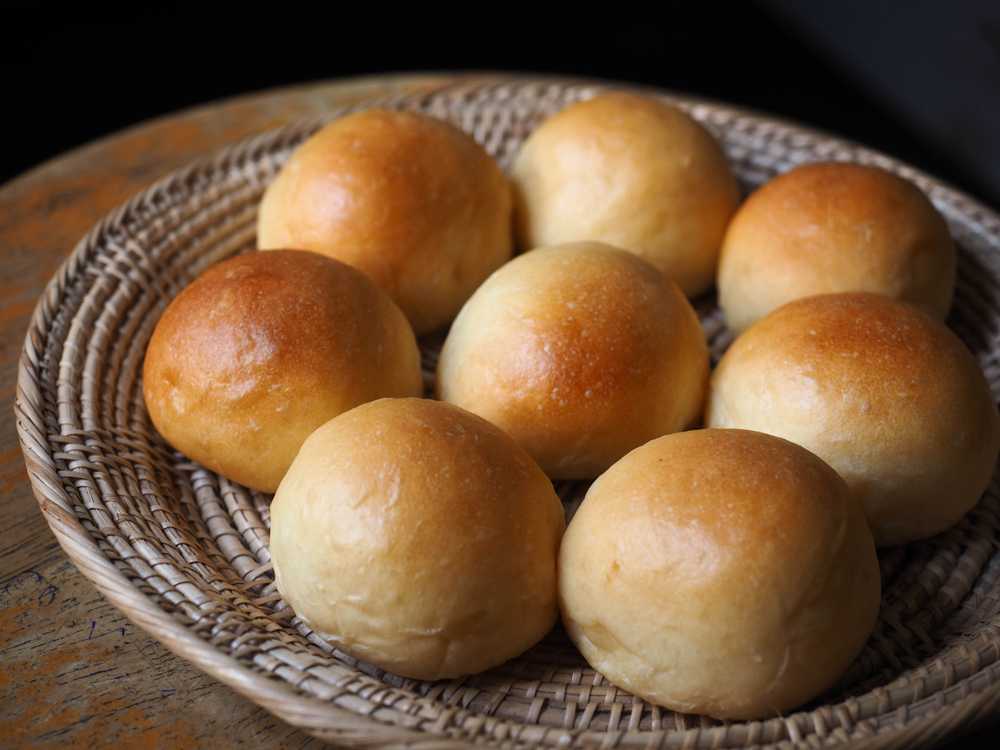
Gather 'round, dear friends, for the warm, embracing scent of freshly baked dinner rolls is about to waft through your home! Picture it: a cozy evening, the table set with your favorite dishes, and in the center, a basket of golden, buttery rolls just waiting to be torn apart. These are not mere accessories to your meal but stars, bringing a comforting, homemade touch that elevates the entire dining experience.

They’re soft, slightly sweet, and when pulled apart, they reveal a steamy, fluffy interior that’s nothing short of a homely hug to your senses. Let's embark on this delightful culinary journey together, ensuring every future meal is garnished with the simplest, yet heartwarming, addition of homemade dinner rolls.
Why This Recipe Works
Ah, the ineffable joy that a homemade roll brings cannot be overstated. This recipe stands out in a sea of countless others for its uncomplicated, straightforward nature, ensuring that bakers of all skill levels can immerse themselves in the experience without trepidation. You're not merely combining ingredients; you're crafting memories, sculpting moments where each bite of the roll takes you on a nostalgic trip to wholesome family dinners. With easily accessible ingredients and steps that are lucidly outlined, this recipe doesn’t demand professional skills or specialty items. It’s all about bringing the heart into the home, combining simplicity with sincerity.
Moreover, there's something unequivocally special about a homemade dinner roll - it represents a labor of love, an embodiment of care and familial warmth. Our recipe ensures that your rolls will have that delicate crust and a cloud-like interior, resulting from the perfect balance of moisture and baking time. This amalgamation of tenderness and subtle sweetness works beautifully alongside any meal, be it a lavish holiday spread or a simple weeknight dinner. Every bite promises a soft, melt-in-your-mouth experience that store-bought varieties simply cannot replicate. Here's to splendid meals and the inviting, irreplaceable presence of freshly baked dinner rolls on your table!
Ingredients
Flour - The backbone of the rolls, providing structure. Use all-purpose or bread flour. Substitute with gluten-free flour if needed.
Yeast - This is what makes the rolls rise and become fluffy. Instant or active dry yeast works. A substitute might be baking soda and lemon juice, but results can vary.
Sugar - Adds a touch of sweetness and aids in browning. Can be substituted with honey or maple syrup.
Butter - For flavor and richness. Use unsalted usually, but if using salted, adjust added salt. A vegan butter or margarine can be used as a substitute.
Milk - Adds moisture and helps with the soft texture. Substitute with a non-dairy milk like almond or soy milk if desired.
Tips
- Ensure your yeast is fresh to guarantee a good rise.
- Allow the dough adequate time to rise in a warm, draft-free environment.
- Don't overwork the dough; it should be soft and slightly sticky.
- Preheat the oven fully before baking for consistent results.
- Brush the rolls with melted butter right after baking for a soft crust and added flavor.
How to Serve
Dinner rolls, with their soft and warm allure, offer versatility in pairing and presentation across various meals. From soaking up gravies to being the vehicle for sliders, these buns transcend mere accompaniment to being integral to a dining experience. Imagine them fresh out of the oven, their aroma wafting through your kitchen, inviting a slather of creamy butter which melts enticingly into their soft, pillowy insides.
Specifically, you might consider serving these rolls as a base for mini sliders, filled with anything from pulled pork to a mini burger. Alternatively, present them in a basket, accompanied by a selection of spreads such as garlic butter, honey, and jams for a customizable treat. Lastly, consider using these rolls for a creative dessert sandwich, perhaps filled with ice cream and a drizzle of caramel sauce, balancing the warmth of the bun with the cold sweetness of the ice cream.
Similar Recipes

Dinner Rolls
Ingredients
- 4 cups all-purpose flour
- 1 packet 2 ¼ teaspoons yeast
- ⅓ cup granulated sugar
- ¼ cup unsalted butter melted, plus extra for brushing
- 1 cup milk warmed to about 110°F (43°C)
- 1 teaspoon salt
- 1 egg optional, for richness
Instructions
- In a bowl, combine warm milk, yeast, and sugar, letting it sit for about 5 minutes until frothy.
- In a large bowl, mix together flour and salt. Slowly add the yeast mixture and melted butter, mixing until a dough forms.
- Knead the dough on a floured surface until smooth and elastic, around 10 minutes.
- Place the dough in a greased bowl, covering it and allowing it to rise until doubled in size, about 1 hour.
- Preheat your oven to 375°F (190°C). Divide the dough into 12 equal portions and shape into rolls.
- Place the rolls on a baking sheet and allow them to rise for an additional 20-30 minutes.
- If desired, gently brush with a beaten egg for a shinier finish. Bake for 15-20 minutes or until golden brown.
- Once out of the oven, brush with additional melted butter. Serve warm.
Nutrition
Notes
- Ensure your yeast is fresh to guarantee a good rise.
- Allow the dough adequate time to rise in a warm, draft-free environment.
- Don't overwork the dough; it should be soft and slightly sticky.
- Preheat the oven fully before baking for consistent results.
- Brush the rolls with melted butter right after baking for a soft crust and added flavor.